How to Change Aspect Ratio in CapCut: Complete Mobile, PC and Web Guide
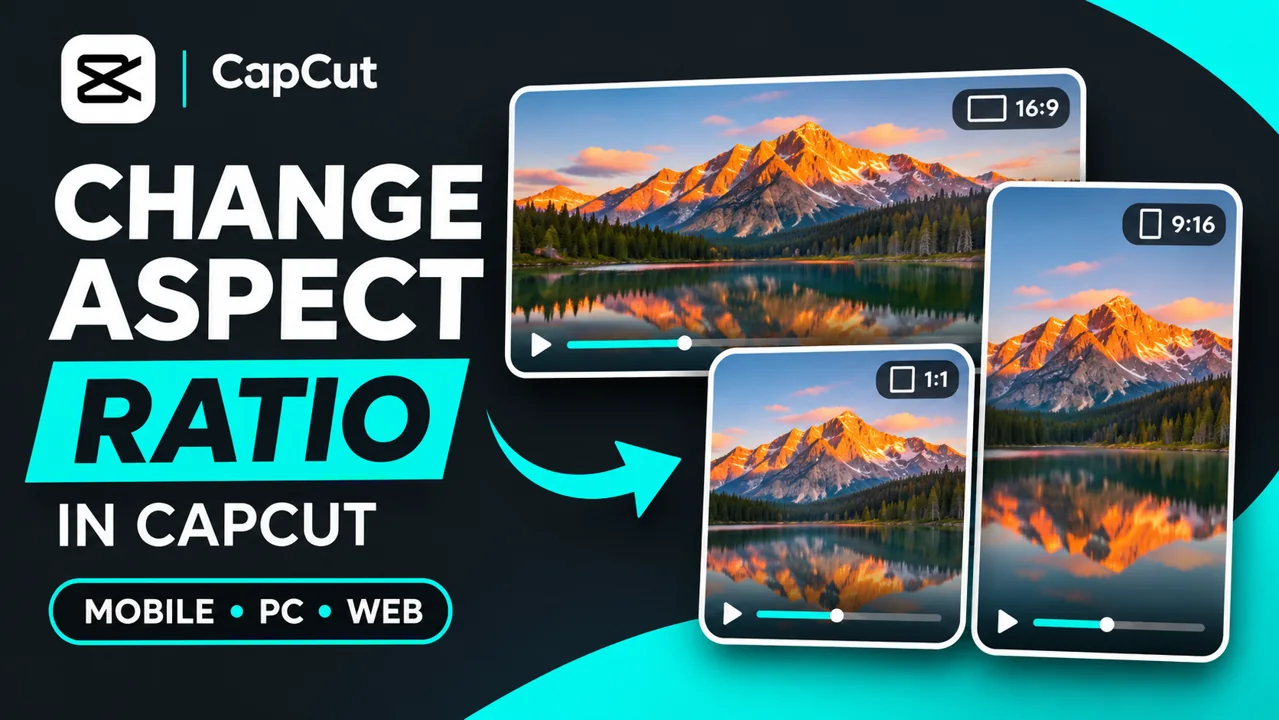
Learning how to change aspect ratio in CapCut helps you turn one recording into a vertical Reel, a square post or a widescreen video. This guide from our editing tutorials covers mobile, desktop and browser workflows, explains what happens to your footage, and shows how to keep faces and captions inside the frame.
CapCut guide • Mobile, PC and web
Quick answer: Open your project, find the project’s Aspect ratio or Ratio control, select your target shape, then resize and reposition every clip before exporting.
A new canvas shape does not automatically guarantee a good crop. Preview the entire timeline before saving.
Updated November 17, 2026. Menu names and positions vary by app version, device and region. These instructions follow CapCut’s published guidance; they are not a claim that every interface uses identical buttons.
What does aspect ratio mean?
Aspect ratio describes the relationship between width and height. A 16:9 frame is wider than it is tall; 9:16 is taller than it is wide; 1:1 is square. Resolution describes pixel dimensions instead: 1920 × 1080 and 1280 × 720 both have a 16:9 shape.
Three controls solve different problems. The project ratio changes the output canvas. Crop chooses which portion of a clip remains visible. Scale changes how large that clip appears within the canvas. Changing one does not necessarily change the others.
Choose your target ratio first
| Ratio | Typical use | Example size |
|---|---|---|
| 9:16 | Vertical Reels, Stories and Shorts | 1080 × 1920 |
| 16:9 | Widescreen videos and presentations | 1920 × 1080 |
| 1:1 | Square social posts | 1080 × 1080 |
| 4:5 | Portrait feed content | 1080 × 1350 |
These are practical starting points, not exclusive upload requirements. Decide where you will publish before adding titles. A caption that fits a wide frame may become cramped when you convert the edit into a narrow portrait layout.
How to change aspect ratio in CapCut on mobile
On Android or iPhone, work in a regular project so you can adjust the canvas and individual clips.
- Open the project. Start with New project and add your recording, or open an existing draft. Duplicate an important edit first if your version offers that option.
- Find the project controls. Look for Aspect ratio in the bottom toolbar. If only clip tools appear, return to the main editing toolbar and scroll through its options. Some versions use different labels or placements.
- Select the new shape. Choose 9:16 for a vertical edit, 16:9 for widescreen, or another available preset. Watch the preview canvas change.
- Adjust each clip. Select a clip and use pinch gestures to resize it. Drag the picture to place the subject where you want it. Repeat for clips with different framing.
- Handle unused space. If you want the full original picture visible, keep it smaller and use the available Canvas or background options, such as a solid colour or blur.
- Review and export. Check titles, stickers and the ending, then export with suitable resolution and frame-rate settings.
How to change aspect ratio in CapCut on PC or Mac
The desktop editor gives you more space to reposition footage and inspect the edges of the frame. CapCut’s desktop guidance describes a Ratio control near the preview; its exact location can change between releases.
- Open a project, import your files and place the footage on the timeline.
- Find the Ratio or current-ratio control associated with the preview canvas.
- Pick your output ratio. Use a custom size only if your version provides it and your destination requires specific dimensions.
- Select each clip and adjust its scale and position in the preview or available transform settings. Keep proportions locked so people do not look stretched.
- For clips that leave empty areas, use background or Canvas controls where available. A blurred fill can preserve the original composition.
- Play through the edit, check overlays and export. Open the saved file to confirm its actual shape.
Auto Reframe can help follow a moving subject where supported, but review its choices. It may prioritise one person when two people are important to the scene. Availability and payment requirements can vary.
How to change aspect ratio in CapCut Online
In CapCut’s browser editor, create or open a video project, upload your media and add it to the timeline. Find the canvas aspect-ratio control; CapCut’s online resizing guidance calls this Screen Aspect Ratio. Choose the preset, then reposition the footage inside the new canvas.
Before downloading, inspect every scene rather than judging only the first frame. Confirm the export settings and open the downloaded file. If an imported template limits canvas changes, try a blank project with your intended ratio and recreate the essential layout.
Fit, fill or blur: which should you choose?
Fit keeps the entire picture visible, with empty space when the source and canvas have different shapes. This works well for presentations, screen recordings and scenes where nothing can be cropped.
Fill enlarges the picture until it covers the canvas. Some content falls outside the edges. Use this approach when the main subject can remain visible after reframing.
A background fill places colour or blur behind the fitted clip. It keeps the complete foreground image while making unused areas intentional. Look for the equivalent controls in your version; Fit and Fill are also useful descriptions of the result even when those exact buttons are absent.
Example: turn a horizontal video into a vertical Reel
Imagine a 1920 × 1080 landscape recording with a speaker in the centre. Set the project to 9:16. If you fit the whole shot, space appears above and below it. If you enlarge it to fill the portrait canvas, much of the left and right side disappears.
Move the speaker into the visible area, then scrub forward to check movement. If the subject walks, use position keyframes or an available reframing tool. Move subtitles away from the edges and leave room for the destination app’s interface. Keep the original wide project for a separate widescreen export.
Common problems and practical fixes
| Problem | What to check |
|---|---|
| Black bars remain | Scale to cover the canvas, or intentionally add a background. |
| A face gets cut off | Reposition the clip, reduce its scale or follow movement with keyframes. |
| The picture looks stretched | Restore proportional scaling; avoid changing width and height independently. |
| Ratio control is missing | Return from clip tools to project controls and check your version’s layout. |
| Bars remain after resizing | They may be baked into the source file; crop that border before reframing. |
| Captions disappear | Reposition text layers and inspect their full duration in the new canvas. |
Export without avoidable quality loss
Start with the original recording rather than a repeatedly downloaded social-media copy. Heavy zooming enlarges fewer source pixels, so a crop can look softer even if you choose a high export resolution. Upscaling cannot restore missing detail.
Use a resolution appropriate for the final frame and source quality. Keep the original frame rate unless you have a specific reason to change it. Export a short test when you are unsure, then inspect sharpness, audio and captions on the device your audience will use.
Frequently asked questions
Can I change the ratio after editing?
Yes, in an editable project, but review every clip, title, overlay and animation afterwards. Their positions may need adjustment.
Can I change aspect ratio without cropping?
Yes. Fit the original image inside the new canvas and fill the remaining area with colour, blur or another background.
Is changing ratio the same as rotating a video?
No. Rotation changes the picture’s orientation. Changing ratio changes the canvas shape. A sideways recording may need rotation before reframing.
Can one exported video have several aspect ratios?
A normal exported video has one fixed frame size. You can change the composition inside it, or export separate versions for different platforms.
Editorial references: CapCut’s guides on portrait-to-landscape conversion, video resizing, vertical-video editing and vertical format. Featured artwork is an AI-generated editorial illustration, not an app screenshot or an official CapCut endorsement.



Post Comment